
When it comes to automotive maintenance, understanding the inner workings of your engine can be both fascinating and intimidating. One crucial component that often goes overlooked is the valve cover gasket. This seemingly innocuous piece plays a vital role in ensuring the efficient operation of your engine. In this article, we’ll explore the intricacies of the valve cover gasket, discuss why it is essential, and provide a comprehensive guide on how to change your valve cover gasket.
Understanding the Valve Cover Gasket
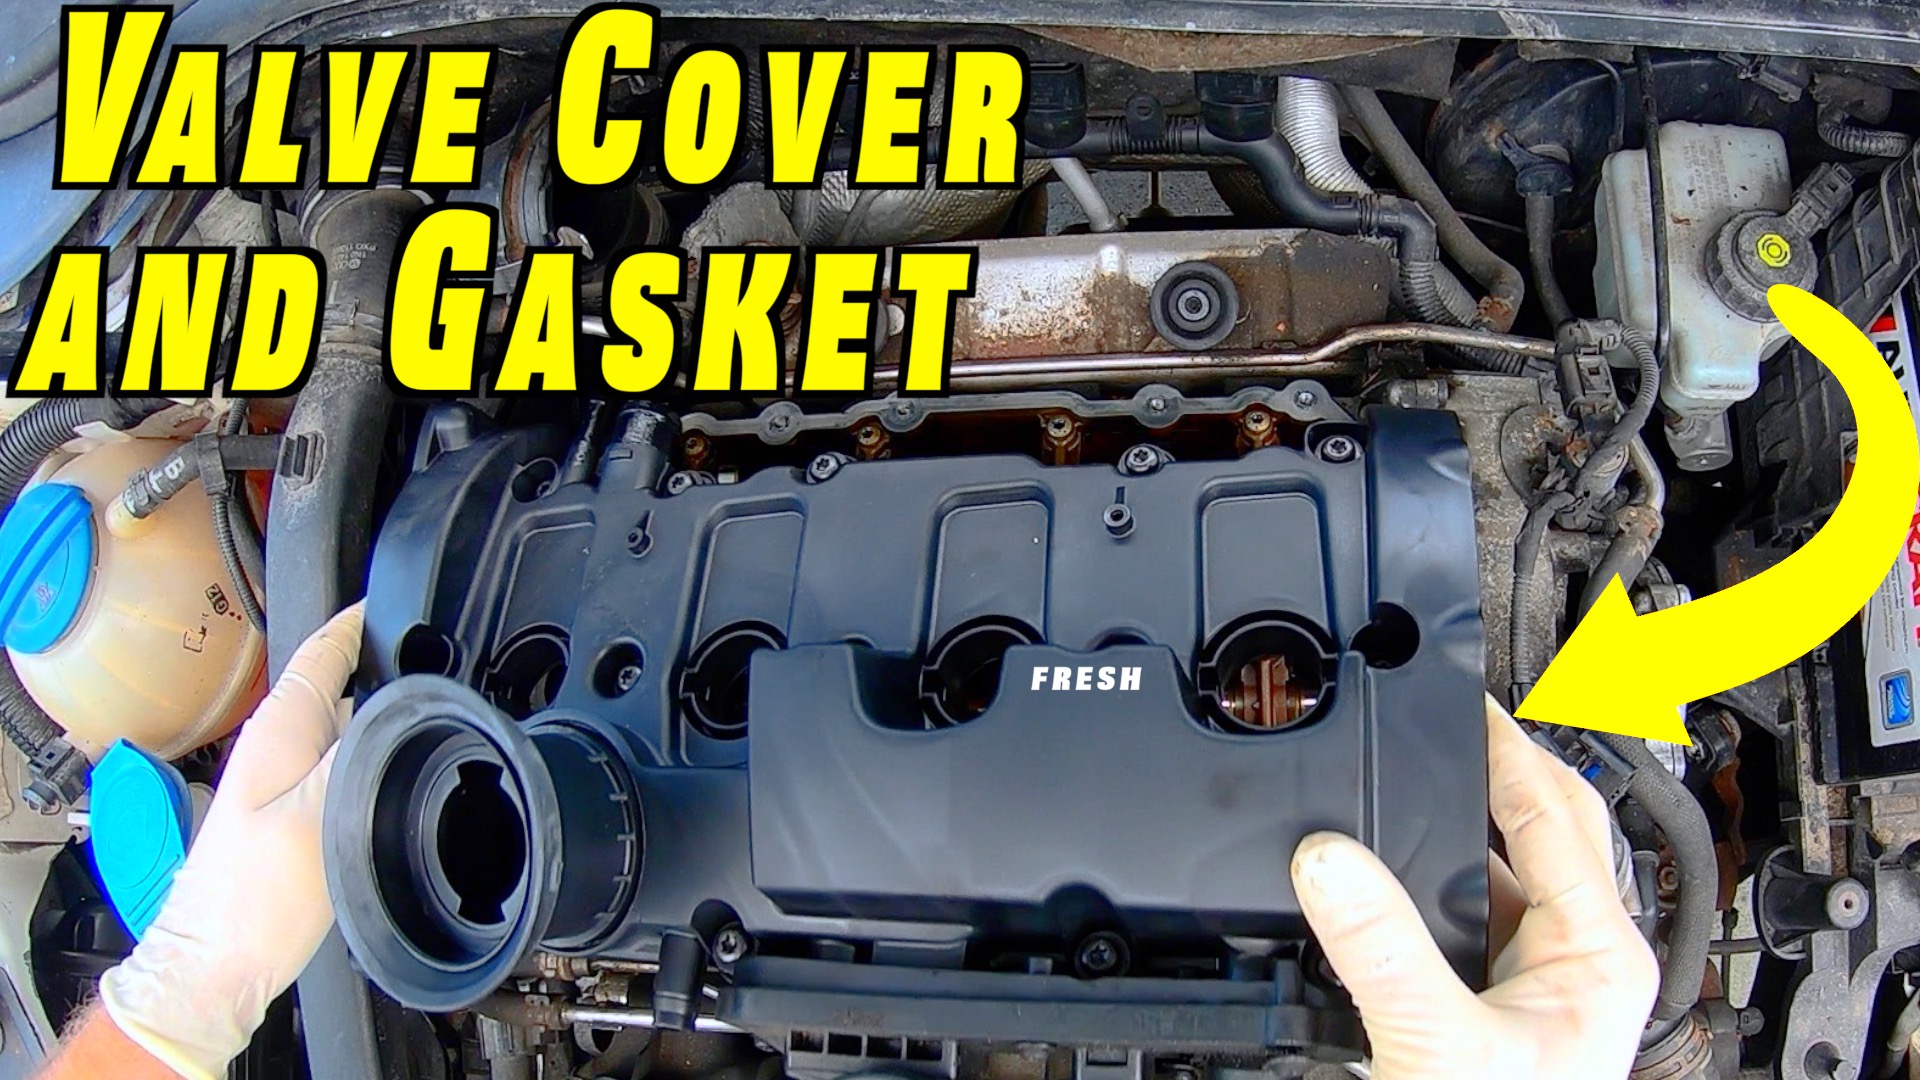
At its core, the valve cover gasket serves as a seal between the valve cover and the engine. It keeps the oil contained within the engine while preventing contaminants from infiltrating this vital area. The valve cover itself is typically made of metal or plastic and houses the components necessary for the engine’s valvetrain operation. The gasket, meanwhile, is crafted from a variety of materials including rubber, silicone, or cork, each chosen for its unique properties and durability.
Over time, exposure to heat, engine vibrations, and oil degradation can cause the gasket to fail, leading to oil leaks. This may not seem catastrophic at first glance, but if left unaddressed, it can lead to significant engine damage and costly repairs. In fact, addressing gasket issues promptly can lengthen the lifespan of your engine, which is a powerful incentive for any car enthusiast or everyday driver.
Signs of a Failing Valve Cover Gasket
Recognizing the signs that your valve cover gasket may need attention is pivotal. Look for:
- Oil Leaks: Puddles of oil beneath your vehicle or oil spray on engine components are classic indicators.
- Oil Stains: Noticeable oil stains around the edges of the valve cover itself can signal a leak.
- Burning Oil Smell: If you detect a burning odor, it may be due to oil dripping onto hot engine parts.
- Engine Misfire: In certain cases, oil entering the spark plug tube can cause ignition problems.
Each of these symptoms could point to a compromised valve cover gasket, which can lead to further complications if not rectified.
Preparing for the Replacement
Changing your valve cover gasket is a straightforward task that can be accomplished with some basic tools and a bit of diligence. Before embarking on this project, gather the necessary materials:
- New valve cover gasket
- Socket wrench set
- Torque wrench
- Gasket scraper or razor blade
- Engine degreaser
- Clean cloths
- Safety goggles
- Work gloves
Having these items at your disposal will make the process smoother and more efficient.
Step-by-Step Guide to Changing Your Valve Cover Gasket
Follow these structured steps for a successful valve cover gasket replacement:
- Preparation: Start by ensuring the engine is cool. Working on a warm engine can be hazardous and can also lead to warping of components.
- Disconnect the Battery: For safety, disconnect the negative terminal of your battery to protect electrical components.
- Remove the Engine Cover (if applicable): Some vehicles have an engine cover that must be removed to access the valve cover. Unscrew any fasteners holding it in place.
- Detach the Valve Cover Bolts: Use a socket wrench to carefully remove the bolts securing the valve cover. Keep them organized, as you will need them to reattach the cover later.
- Remove the Valve Cover: Gently pry the valve cover off, taking care not to damage any attached components. If it seems stuck, gently tap around the edges with a rubber mallet.
- Clean the Surface: Scrape away any remnants of the old gasket from both the valve cover and the engine. An engine degreaser can help make this task easier and more effective.
- Install the New Gasket: Align the new gasket with the valve cover, ensuring it sits evenly around the entire perimeter. If your gasket has locating tabs, ensure they’re seated properly.
- Reattach the Valve Cover: Carefully place the valve cover back onto the engine. Hand-tighten the bolts in a crisscross pattern to ensure even distribution of pressure.
- Torque Down the Bolts: Utilize a torque wrench to tighten the bolts to the manufacturer’s specifications. This step is crucial to prevent leaks in the future.
- Reconnect Components: Reattach any hoses or electrical connections that were removed, and if applicable, put the engine cover back in place.
- Reconnect the Battery: Finally, reconnect the battery and start the engine. Monitor for any oil leaks or abnormal sounds.
Post-Replacement Considerations
Once your valve cover gasket replacement is complete, regular monitoring is essential. Check the area periodically for signs of leaks. If you notice any, it may indicate an improper install or an issue with the new gasket.
The act of replacing the valve cover gasket is not merely a maintenance task; it is a connection to the intricate world of engineering that goes into every vehicle. With a little elbow grease and the right tools, you can ensure your engine runs smoothly and efficiently. Embracing this hands-on approach not only empowers you as a driver, but also adds to the overall experience of car ownership. Happy wrenching!
