
Imagine cruising down the road, a warm breeze hitting your face, when suddenly your vehicle sputters and grinds to a halt. Frustrating, right? You might find yourself in a predicament that often stems from a neglected fuel tank. Could it be that the lifeblood of your vehicle is compromised by grime, rust, or sediment? Fear not—cleaning your gasoline tank doesn’t have to mean an exhausting removal process. With a few standard tools and materials, you can effectively cleanse your fuel tank while it remains in place.
First, let’s explore why maintaining a clean fuel tank is paramount. Over time, fuel can degrade and separate, causing unwanted contaminants like dirt, water, and microbial growth to congregate. Such pollutants don’t just clog filters; they can impair engine performance and lead to costly repairs. So the question is: How can you tackle this potential obstacle without taking your tank out of the vehicle? The following guide will lead you through the essential steps and precautions to take for a successful cleaning.
1. Gather Your Tools and Materials
Before diving into the cleaning process, it is essential to have all the necessary tools and materials on hand. Here’s a comprehensive list:
- Protective gloves and eyewear
- Fuel siphon pump
- Storage containers for old fuel
- Lightweight, non-corrosive cleaners (like kerosene or fuel tank cleaners)
- Flexible cleaning brushes
- Shop towels or lint-free cloths
- Fuel filter replacement (if needed)
- Vacuum cleaner with a narrow nozzle (optional)
Having everything ready will alleviate the need for unnecessary interruptions during the cleaning process.
2. Safety First
Fuel is inherently volatile, so handling it requires caution. Make sure you’re working in a well-ventilated space, ideally outdoors. Always wear protective gear to shield yourself from potential fumes or spills. Ensure there are no open flames or sparks around your workspace.
3. Removing Old Fuel
Having taken necessary precautions, begin by siphoning out any old fuel from the tank. Utilizing a fuel siphon pump, insert one end into the fuel tank and the other end into your storage container. Remember to ensure the surroundings are clear, allowing for a smooth flow. If the siphoning proves to be challenging, a gentle pump can encourage the fuel to flow out. Make sure to dispose of the old fuel responsibly, complying with local regulations.
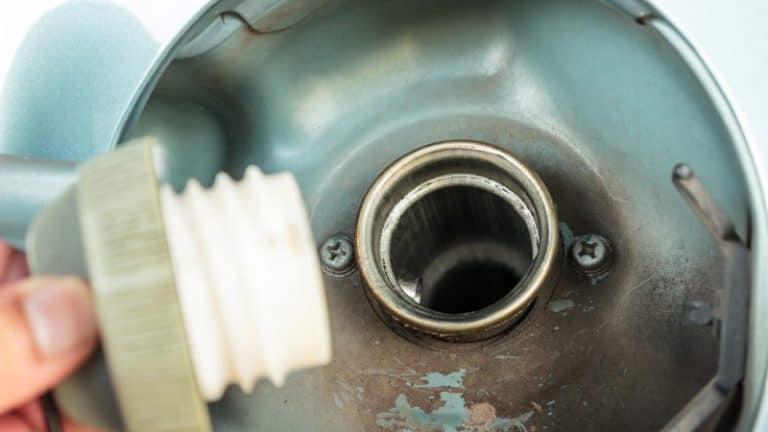
4. Inspecting the Tank
With the old fuel removed, it’s time to inspect the interior of the tank. Shine a flashlight through the fuel filler neck to locate any excessive rust, debris, or slime lining the tank. This visual inspection is crucial; it will help determine the extent of cleaning required. Look for areas that may need more attention and plan your approach accordingly. Grab your vacuum cleaner if the tank is particularly dusty. A quick suck to remove loose debris will set a great foundation for the rest of the cleaning process.
5. Cleaning the Interior
Now that you’ve surveyed the battlefield, it’s time to arm yourself with your chosen cleaning agent. If you opt for a commercial fuel tank cleaner, follow the manufacturer’s instructions closely. Otherwise, kerosene is an effective and often-used solution. Pour a reasonable quantity of cleaner into the tank, filling it up partially, but leave enough room for movement.
Take your flexible cleaning brush and gently agitate the cleaner within the tank. This friction will help dissolve muck and rust. Pivot the brush around for thorough coverage, reaching those hard-to-access corners. Be patient here; the goal is to dislodge all built-up residues. It’s a delicate balance of motion without causing damage to the tank.
6. Rinsing Action
Once you’ve scrubbed away the unwanted grime, it’s essential to rinse the tank. Empty the tank of the cleaning solution, then introduce clean water in small amounts to ensure that all traces of the cleaner are washed away. Repeat the rinsing process as needed while using the cleaning brush to catch any lingering residues.
7. Drying the Tank
After a thorough rinse, the next step is drying the tank. Wipe down the interior surfaces using lint-free cloths or shop towels. If available, a low-power air compressor can expedite drying. It’s vital to ensure no moisture remains, as it could lead to rust formation later.
8. Reassemble and Refill
Now comes the gratifying moment—reassembly! Reattach any components, including the fuel filler cap. It’s time to refill your tank with fresh gasoline, opting for a high-quality product that includes detergents to keep the system cleaner for longer. Before hitting the road, consider replacing the fuel filter as a preventive measure.
9. Monitor Performance
With everything back in place, it’s crucial to monitor your vehicle’s performance. Keep an ear out for any unusual sounds or behaviors as you drive. A smooth performance indicates that the cleaning was a success, allowing you to drive with confidence.
In conclusion, maintaining your fuel tank regularly will make a world of difference in engine performance and longevity. And while it may seem daunting, cleaning your gasoline tank without removing it can be accomplished with the right approach and tools. So the next time you sense an impending fuel issue, remember—an unclogged tank is a happy tank!
