
Keeping your wheels in pristine condition does far more than enhance the overall aesthetics of your vehicle; it also prolongs the life of the rims and maintains the efficiency of your vehicle’s braking system. Among the myriad of substances that can mar the luster of your wheels, brake dust reigns supreme. This stubborn residue often accumulates rapidly, leading to a dull appearance and potential corrosion. Understanding the nuances of wheel cleaning can make all the difference in preserving your vehicle’s beauty and functionality.
Brake dust is a byproduct of the braking process. When you brake, tiny particles from the brake pads and rotors are generated and can settle on your wheels. Typically, these particles are composed of metal fibers, ceramics, and other materials, making them both abrasive and difficult to remove. Ensuring your wheels remain clean not only contributes to the vehicle’s aesthetics but also helps in preventing rust and other forms of damage.
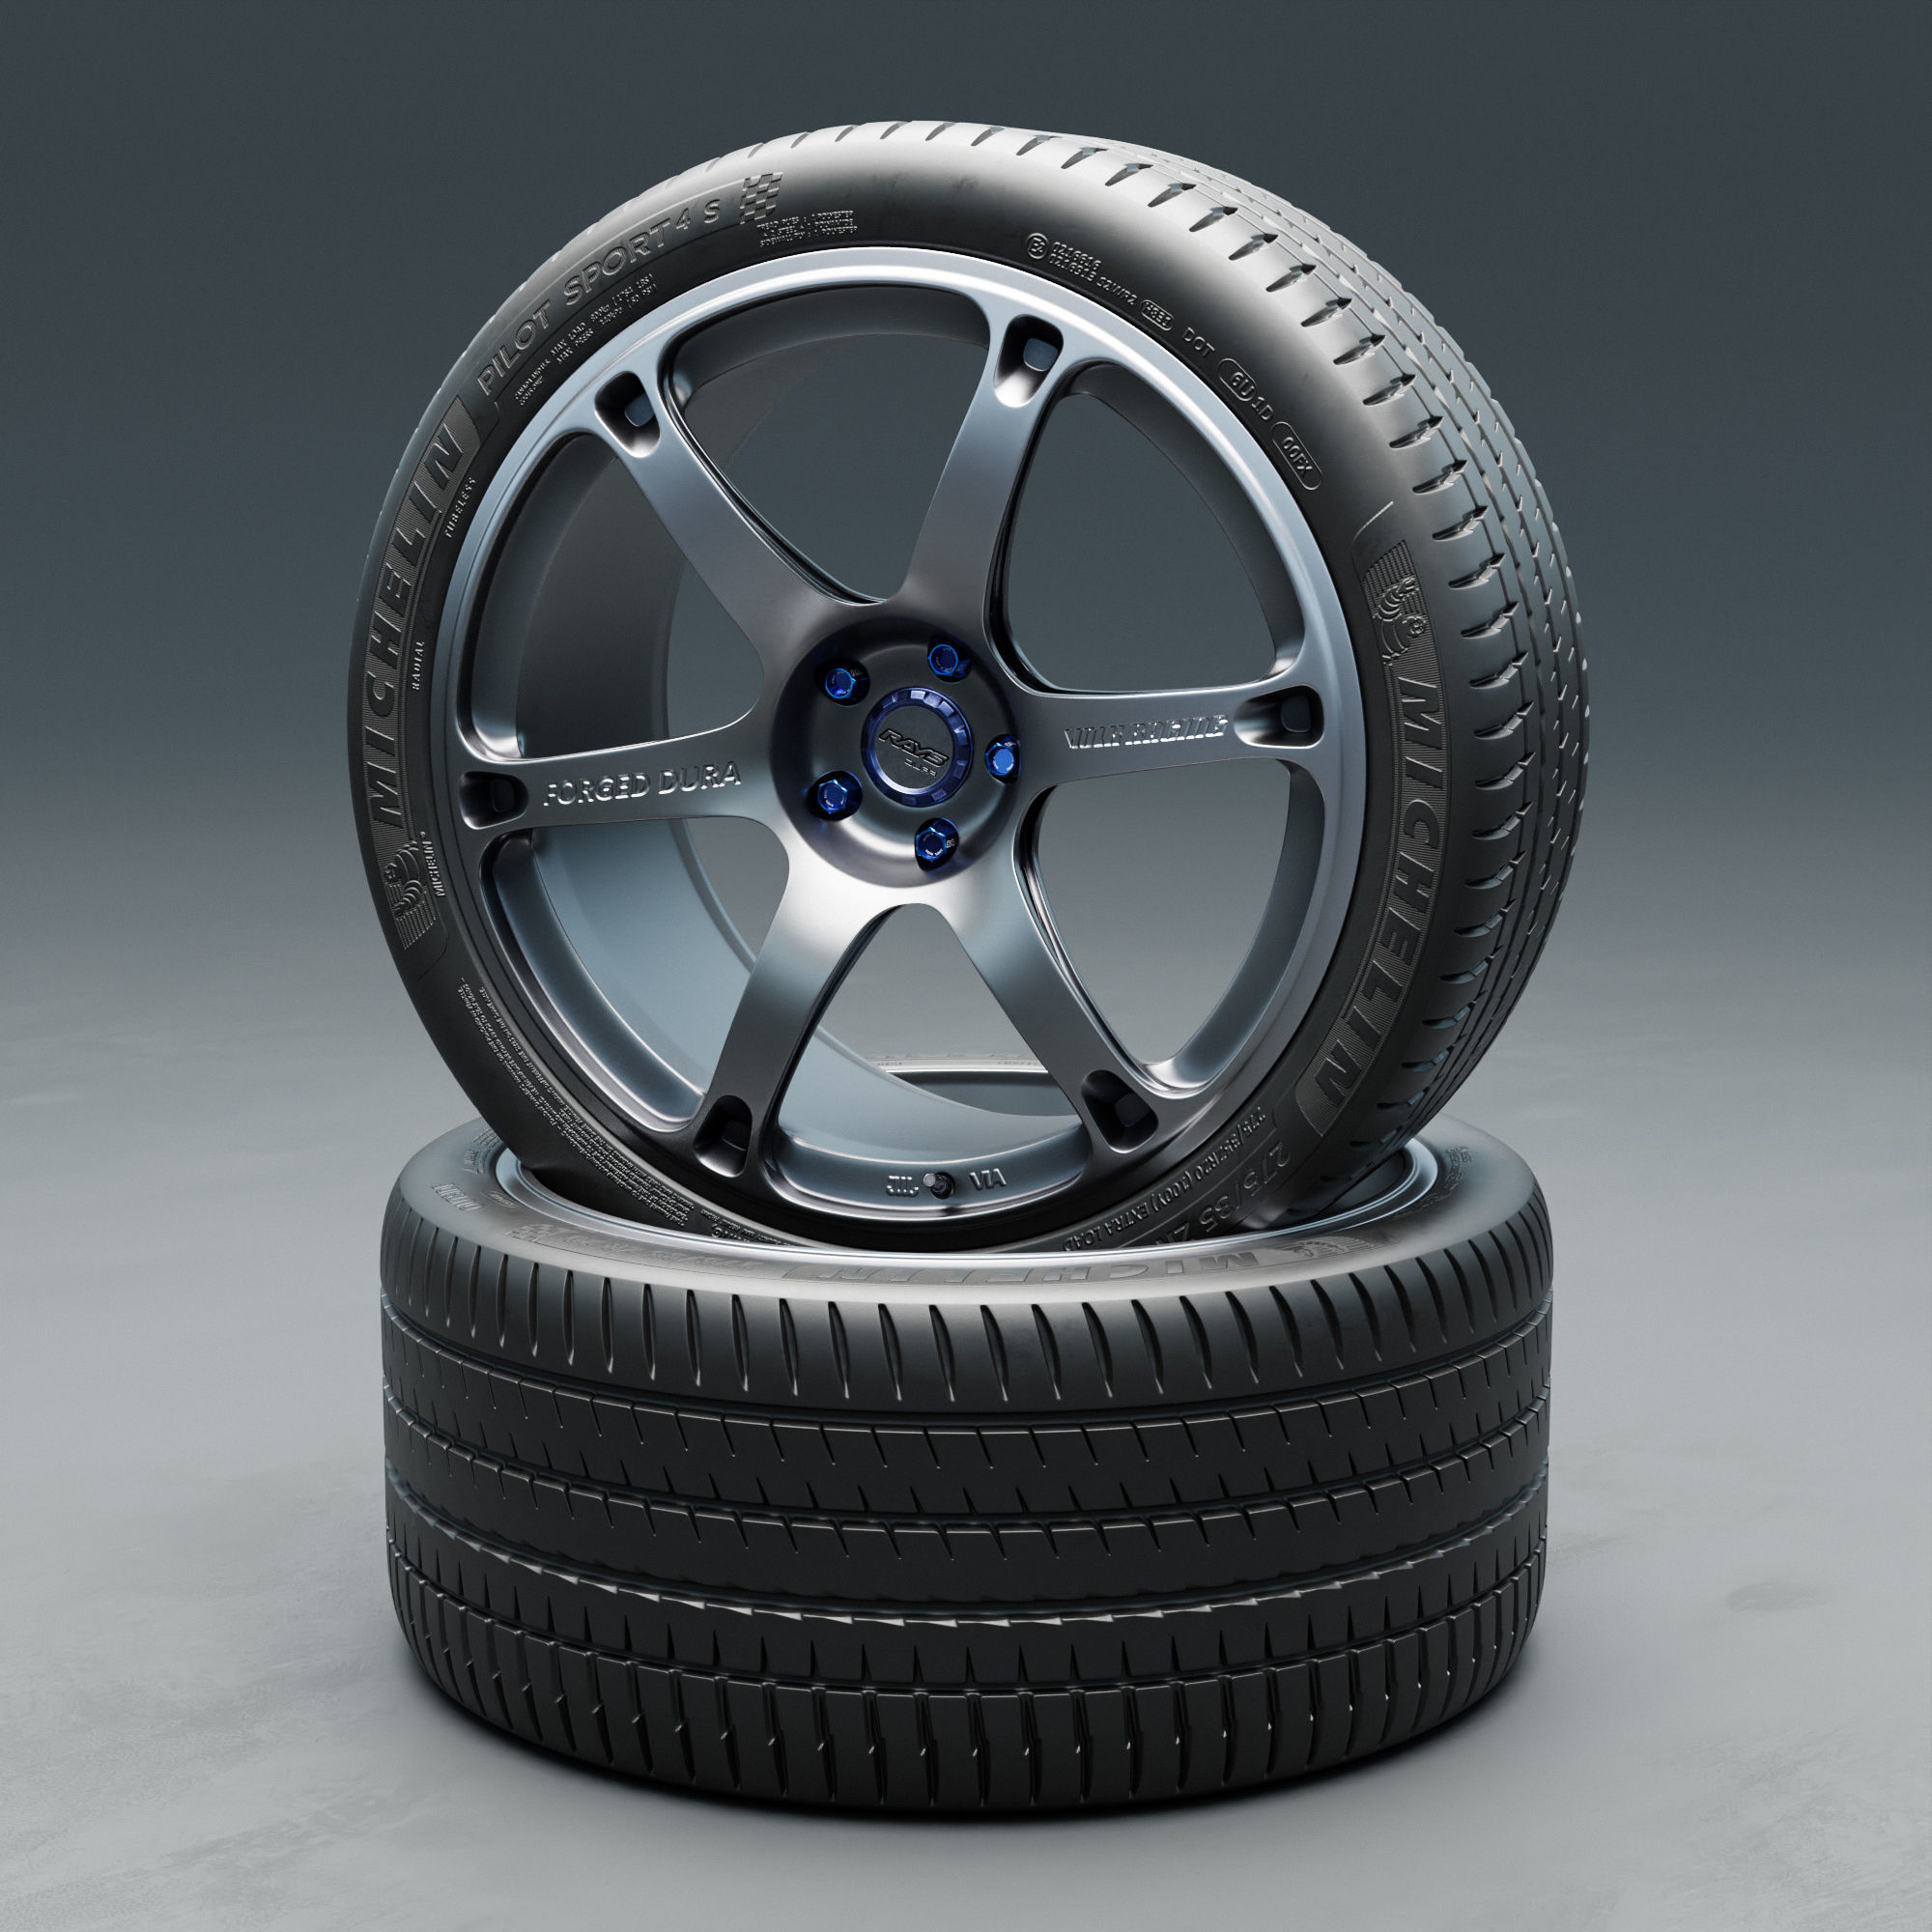
Before embarking on the wheel cleaning process, familiarize yourself with the types of rims you possess, as different materials may require varied care approaches. Common types include:
- Alloy Wheels: These are made from a blend of metals and are prized for their light weight and aesthetic appeal. However, they can easily suffer from corrosion if brake dust is left unchecked.
- Steel Wheels: Typically more durable than alloy wheels, steel wheels are less susceptible to corrosion but can easily rust if brake dust builds up.
- Chrome Wheels: Their shiny finish is appealing, but chrome is also vulnerable to scratches and pitting from abrasive brake dust.
Once you’ve identified the type of rims you are dealing with, gather the necessary materials for the task. You’ll generally need:
- Wheel cleaner (preferably pH-balanced)
- Soft brush or wheel brush
- Microfiber cloths or towels
- Hose or pressure washer
- Bucket of warm water
- Protective gloves and eyewear (optional, but recommended)
Now that you have your tools at the ready, it’s time to delve into the step-by-step procedure for removing brake dust effectively.
1. **Initial Rinse**
Start by rinsing the wheels with water. This initial step helps to remove loose debris and contaminants. Using a hose or a pressure washer, ensure you spray the wheel’s surface and inner areas to dislodge any trapped dust or dirt. A quick rinse sets the foundation for a more thorough cleaning.
2. **Applying Cleaner**
Once the initial rinse is complete, apply your chosen wheel cleaner liberally. Many high-quality wheel cleaners are designed to react with brake dust and grime, turning them into a gel-like substance that is easier to wipe away. Allow the cleaner to sit for a few minutes but avoid letting it dry out on the rims. Always adhere to the manufacturer’s instructions for the best results.
3. **Scrubbing the Wheels**
Using a soft brush or wheel brush, begin scrubbing the rims with gentle yet firm strokes. Pay special attention to areas where grime tends to accumulate, such as the crevices between spokes and the surface near the brake calipers. If you have chrome wheels, switch to a softer cloth to avoid scratching the finish. For those tough spots, consider using a toothbrush or small detailing brush to reach intricate designs.
4. **Rinsing again**
After scrubbing thoroughly, it’s time for another rinse. Use clean water to wash away the cleaning solution and dislodged brake dust. Make sure no residue remains, as this can attract more dirt and lead to further corrosion.
5. **Drying the Wheels**
Dry the wheels using microfiber cloths or towels. This step is essential to prevent water spots and streaks on your rims. Additionally, drying helps in spotting any remaining brake dust that you may have missed during scrubbing.
6. **Applying a Protectant**
Once your wheels are clean and dry, consider applying a specialized wheel protectant. Products are available that can create a barrier against dirt and brake dust, making future cleaning much more manageable. These protectants typically repel brake dust, water, and other contaminants, ensuring your wheels look spectacular for longer. Make sure to follow the instructions on these products carefully.
7. **Regular Maintenance**
To keep your wheels looking their best, regular maintenance is crucial. Aim to clean your rims every 1 to 2 weeks, depending on your driving habits. If you frequently drive in areas with heavy dust or where stop-and-go traffic is common, you may find that your wheels accumulate brake dust even more quickly.
In addition to regular cleanings, always inspect your wheels for signs of damage or excessive wear. Addressing issues early on can prevent larger problems from developing later, ensuring that your vehicle remains safe and visually appealing.
Cleaning your wheels isn’t merely a quest for aesthetics; it’s a crucial part of vehicle maintenance. By understanding how to combat brake dust effectively, you can enjoy sparkling wheels and enhance both your vehicle’s safety and longevity. So, gather your supplies and take pride in your wheels, knowing that a little elbow grease goes a long way!
