
Embarking on the journey of car detailing offers not just an opportunity to restore your vehicle’s luster but also a rewarding experience in automotive care that can elevate your ownership enjoyment. One crucial aspect of this process is waxing—a step that shields the paint while providing a resplendent shine that captivates the eyes. Using a buffer for this task can be transformative, allowing for a dazzling, smooth finish that is often unattainable through traditional hand application. Let’s delve into the nuances of waxing a car with a buffer and unlock the secrets to achieving that coveted, showroom-quality shine.
First off, let’s set the stage by understanding the profound impact of a thorough wax. Wax serves multiple purposes: it protects your car’s paint from UV rays, road grime, and contaminants while enhancing the depth of color. The shine provided by a well-waxed car not only garners admiration but also contributes to the vehicle’s longevity. As you embrace the hands-on nature of detailing, your perspective shifts—you’re no longer just maintaining a mode of transportation; you’re nurturing a piece of personal pride.
Prior to embarking on the waxing expedition, it’s crucial to prepare your vehicle meticulously. Start with a comprehensive wash to eliminate dirt and grime that can become embedded during the waxing process. Use a high-quality car shampoo and a plush microfiber mitt to gently cleanse the surface, rinsing thoroughly to avoid any residue. Next, conduct a decontamination, using a clay bar to remove embedded particles and contaminants. It’s this level of preparation that creates the perfect canvas for a flawless wax application.
Once the car is spotless and dry, the real fun begins. Choose a high-grade car wax that suits your needs—synthetic waxes often provide longer-lasting protection, while natural carnauba wax delivers a warmth and gloss that is hard to beat. As you make your selection, think about the location and climate in which you reside; certain products may perform better in specific conditions.
Now, let’s talk about the star of the show: the buffer. Utilizing a buffer can be intimidating for new car detailers, but it can immensely amplify your waxing results when used properly. A dual-action buffer is often the best choice for novices, as it oscillates while rotating, thereby minimizing the risk of paint damage that a rotary buffer might pose.
To begin the application, attach a foam pad to your buffer. A softer pad is ideal for wax application, as it allows for even distribution without causing micro-swirls. Before you introduce the wax to this buzzing machine, apply a small amount to the pad—typically a quarter-sized dollop is sufficient. Turn on the buffer to a low speed to avoid flinging wax everywhere. Here’s a little secret: instead of dotting the wax across the surface in one go, try spreading it on the pad first to prevent an uneven application.
When you’re ready, start working the buffer back and forth over the surface of the car. Keep the buffer moving continuously to avoid overheating or burning the paint. The goal is to allow the buffer to apply the wax while the pad’s gentle agitation frees up the wax’s conditioning agents, allowing them to bond with the paint. After a few passes, the surface will begin to gleam, indicating that the wax has been effectively worked in.
As you navigate around the curves and contours of your vehicle, remember to use gentle pressure and maintain even coverage. Pay attention to missed spots and ensure that every inch of the car is treated. Once you’ve covered the entire surface, it’s essential to let the wax cure. Depending on the product, this could take anywhere from a few minutes to a few hours. During this time, admire your handiwork and visualize the end result—it’s during these moments that anticipation builds.
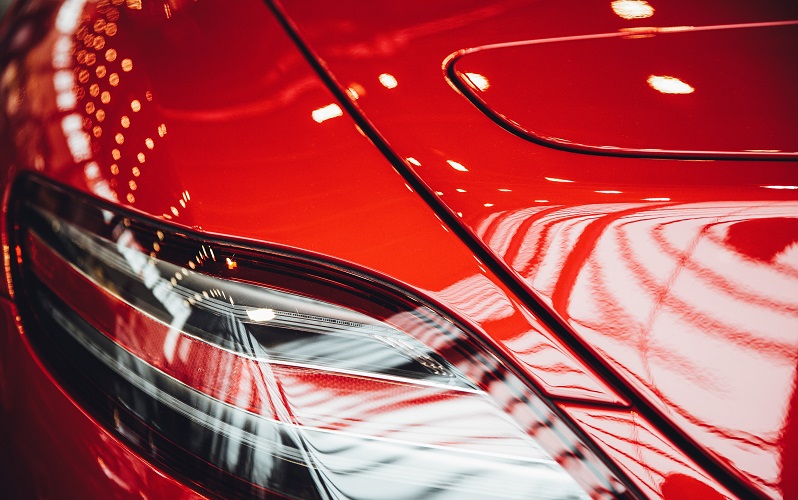
Post-curing, it’s time for the exhilarating reveal! Employ a clean microfiber towel to buff away any excess wax. This step not only removes remnants but also enhances the shine further. Use a light, circular motion while ensuring that no traces of the wax remain. The final flourish of this process is like unveiling a masterpiece. A well-waxed car will give off reflections that rival the clarity of a mirror, invoking a sense of pride in your meticulous labor.
For those devoted to maintaining that newly waxed finish, consider implementing a regular detailing schedule. Alongside your routine washes, a coat of wax every few months—dependent on environmental factors—will ensure your car continues to shine brilliantly. Some choose to apply an additional quick wax product in between major sessions, which can serve as a protective layer.
Ultimately, the process of waxing a car with a buffer transcends mere maintenance; it’s an art form. Each step requires a blend of dedication and technique, promising not only a stunning exterior but also an enriching experience that reinvigorates your connection to your vehicle. Each reflection in the moment of your self-finishing will remind you of the effort invested in not just achieving a perfect shine, but also in forging a deeper appreciation for craftsmanship and self-care in automotive detailing. So, gear up, unleash your inner detailer, and embark on a waxing adventure that transforms not just your car’s appearance, but your perspective on automotive maintenance and pride.
