
When it comes to enhancing your Chevy Astro’s performance and safety, one question is often posed: Have you ever considered the benefits of upgrading to four-wheel disc brakes? While the standard drum brake system has served many faithful Astro vans well over the years, there is a certain allure to embracing modern braking technology that can dramatically improve your driving experience. So, let’s embark on a journey to understand the intricacies of converting your Chevy Astro to a four-wheel disc brake system.
The first step in any conversion project is knowledge. The primary difference between disc and drum brakes lies in their design and functionality. Disc brakes employ a rotor, caliper, and brake pads, which not only provide superior stopping power but also dissipate heat more effectively. Drum brakes, on the other hand, rely on friction between shoes and a rotating drum. The latter struggles with heat buildup, leading to diminished performance, especially in demanding driving scenarios. Are you beginning to see why this upgrade is enticing?
Making the decision to convert to a four-wheel disc brake system involves more than just a desire for improved performance; it’s also about safety. With increased braking efficiency, particularly in critical situations, you’ll have more confidence as you navigate twisty backroads or rush-hour traffic. This upgrade not only enhances driver control but also transforms the entire feel of your Astro. Is there anything more satisfying than the security of knowing your van can stop on a dime?
Now, let’s delve into the conversion process. Begin by gathering the necessary components. This typically includes new disc brake rotors, calipers, brake pads, and the appropriate hardware. Many enthusiasts opt for aftermarket kits, which are specifically designed for the Astro. These kits often include everything you need for the transformation, simplifying the process.
The installation process can be viewed as both a challenge and a rewarding experience. It’s advisable to have a decent set of tools at hand, including a jack, jack stands, wrenches, and sockets. Having a repair manual specific to your Astro can also provide invaluable guidance during the conversion. As with any project, preparation is key. Are you ready to get your hands a little dirty?
Start by safely lifting your Astro and removing the wheels. With the wheels off, it’s time to tackle the existing drum brakes. Detaching the drum brake assembly can be straightforward, but it can also present some unforeseen challenges, such as stubborn components or residual rust. Patience is a virtue here, and a little elbow grease could go a long way. Once removed, be sure to clean the rear axle to eliminate any grime or debris.
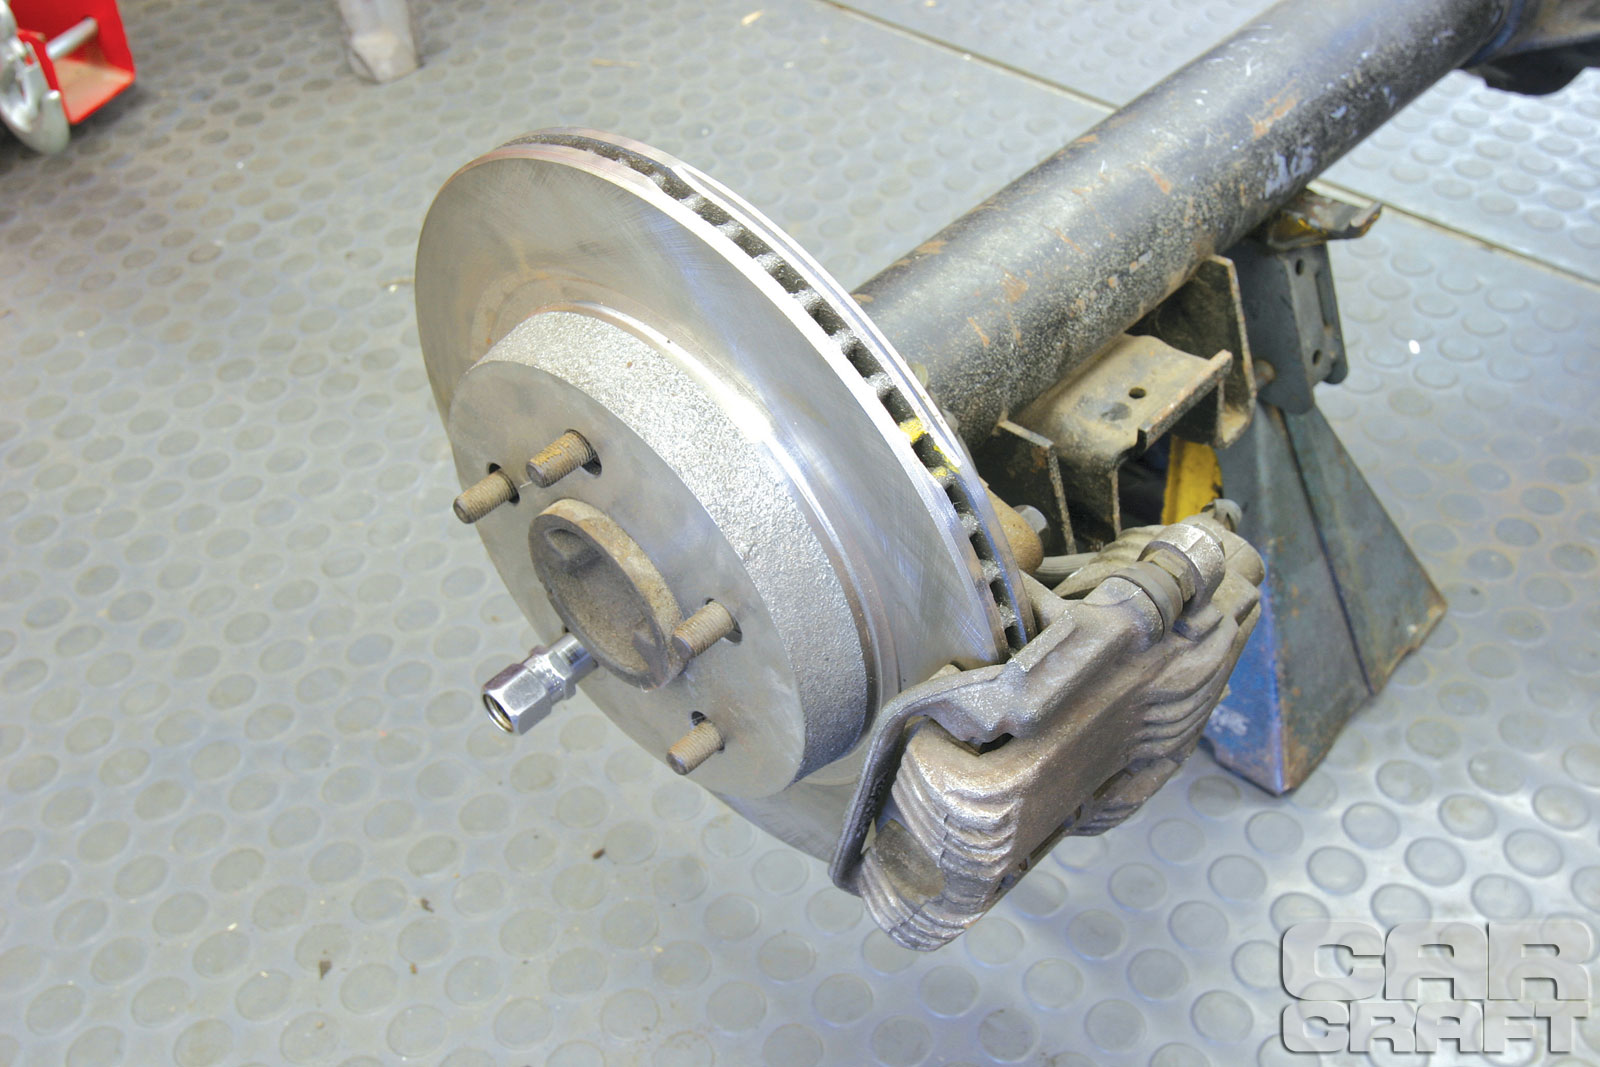
Once the drum brakes are off, it’s time to install the disc brake components. This involves affixing the new caliper brackets to the axle and then attaching the rotors. Ensure that everything is correctly aligned and securely in place. After this, you’ll attach the calipers, followed by the brake pads. Do you feel that sense of accomplishment as you see the transformation taking shape?
Now we venture into the hydraulic realm. Upgrading to four-wheel disc brakes requires new brake lines and possibly a new master cylinder. This is crucial because the existing master cylinder may not provide sufficient fluid pressure for the disc brake system. Many conversion kits come equipped with the necessary brake lines, which simplifies this step but do check that your new master cylinder is compatible with your Astro’s system.
Next, fill the system with brake fluid and bleed the brakes. This crucial step ensures that any air trapped in the lines is removed, allowing for maximum braking efficiency. It can be a bit tedious, but it directly impacts performance. After bleeding the system, closely inspect for any leaks; safety is paramount. Once everything checks out, it’s time to put the wheels back on.
Before hitting the road, it’s wise to break in your new brakes. This process, often referred to as “bedding,” helps ensure an optimal connection between the pads and rotors. It also allows for the removal of any manufacturing residue on the pads, which can affect performance. Do you remember the thrill of your first ride with upgraded brakes? It’s an experience that tends to linger in memory.
The reflection upon your installation journey leads to contemplating the other modifications that complement this upgrade. Suspension alterations, for instance, can further enhance stability under braking, particularly if you plan on towing or carrying heavier loads. Consider upgrading your shocks and springs for an all-round balanced driving experience. When you upgrade one component, it often sends ripple effects throughout your vehicle’s performance.
Ultimately, the decision to upgrade your Chevy Astro to a four-wheel disc brake system is both a practical and enjoyable endeavor. With a combination of enhanced stopping power, improved heat dissipation, and increased safety, your Astro will perform better and respond more readily under pressure. As you cruise the open road with the confidence that comes from such a transformative upgrade, you might just find yourself pondering: What other adventures awaits my trusty Astro?
In conclusion, whether tackling daily errands or embarking on extraordinary journeys, the advantages of this upgrade are clear. Your Astro deserves the modern enhancements that a four-wheel disc brake system can offer. With a bit of dedication and enthusiasm, you’ll reap the rewards each time you press down on that brake pedal.
