
When it comes to motorcycle maintenance, the carburetor is akin to the heart pumping life into the engine. Just like our heart requires regular checkups and a healthy diet to function optimally, a carburetor needs cleaning to ensure it delivers the required air-fuel mixture for peak performance. Yet, the thought of removing it can feel daunting—a task only ventured by those with the steely resolve of a daring mechanic. Thankfully, while extracting a carburetor may seem like an expedition into uncharted territory, there exists an alternative way. In this article, we explore the art of carburetor cleaning without the hassle of removal, opening a gateway to keeping your motorcycle running like a well-tuned symphony.
Understanding the Carburetor’s Role
Imagine your motorcycle as an intricate dance performance. Each component plays a crucial role, harmonizing to create a seamless experience. The carburetor is the choreographer, determining how the airflow and gasoline mingle at the right moments to fuel the combustion process. If it becomes gunked up with varnish or dirt, the entire performance falters. Riders may notice symptoms such as stalling, poor acceleration, or reduced fuel efficiency—indicators that the choreographer needs attention. Knowing how to clean the carburetor without dismantling it allows you to keep this important dance on track.
When is Cleaning Necessary?
Before diving into the process, it’s essential to acknowledge the signs that signify a carburetor in distress. Just as a stage actor can signal when something is amiss, your motorcycle will provide clues that its carburetor needs some TLC. Pay attention to:
- Engine performance issues: If your motorcycle sputters, hesitates, or struggles during acceleration, it can be a cry for help from the carburetor.
- Difficulty starting: Engine turns over but refuses to start? This is often due to an improper air-fuel mixture caused by a dirty carburetor.
- Poor fuel economy: Increased trips to the gas station might signal that it’s time for a deep clean.
If you’ve noticed any of these signs, it’s likely time to embark on the carburetor cleaning journey.
The Cleaning Voyage
To clean the carburetor without removing it, you’ll need several items—think of your cleaning tools as a painter selecting brushes. You’ll require carburetor cleaner spray, a soft-bristle brush, a clean rag, and possibly a vacuum or shop air compressor to blow out debris.
Step 1: Preparation Is Key
Before you engage in the cleaning process, prepare your motorcycle. Start in a well-ventilated area, ensuring you avoid noxious fumes that might arise. Turn off the fuel petcock to prevent any accidental leaks and remove the air filter for better access to the carburetor. It’s like moving the curtains aside before the performance begins.
Step 2: Inspect the Carburetor
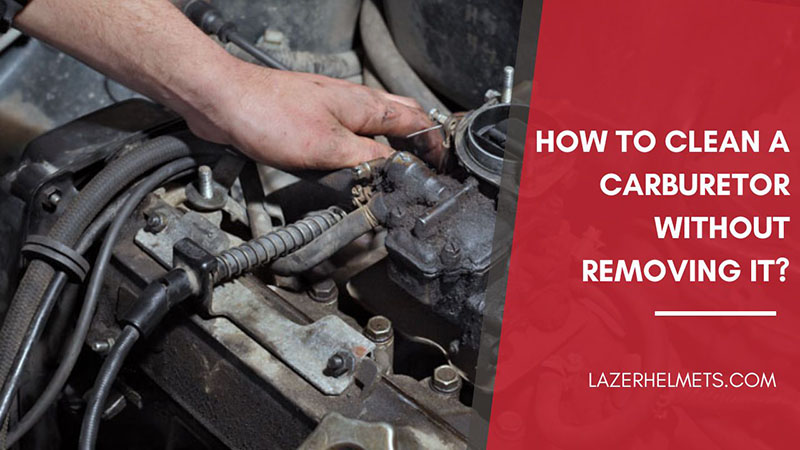
With the air filter removed, inspect the carburetor closely. Look for visible signs of grime and buildup, just as a director would examine a set before a show. Take note of the areas that appear particularly grimy and will need your attention during the cleaning process.
Step 3: Apply Carburetor Cleaner
Now, armed with your can of carburetor cleaner, you’ll want to give those stubborn areas the attention they deserve. Spray the cleaner directly onto the surfaces of the carburetor, particularly where you see deposits. Allow it a moment to penetrate the grime—patience is a virtue in any maintenance endeavor.
Step 4: Brush Away the Dirt
Using your soft-bristle brush, gently scrub the impacted areas. Think of it as coaxing a performance back to life. Avoid aggressive scrubbing that might damage sensitive components. Instead, use a gentle touch to remove the residues. For hard-to-reach nooks, a smaller brush or a pipe cleaner can be invaluable.
Step 5: Rinse and Dry
After scrubbing, wipe the surfaces with a clean rag, soaking up the remnants of your cleaning effort. If you have access to a vacuum or air compressor, use it to blow out any excess debris and cleaner. This final touch ensures all those impurities are expelled from this vital component.
Step 6: Reassemble and Test
Once you’re satisfied with the cleanliness of the carburetor, it’s time to put everything back together—like fitting the pieces of a jigsaw puzzle. Reattach the air filter, turn the fuel petcock back on, and start your engine. Pay attention as it roars to life; this is the moment the efforts pay off. You might notice a difference immediately—responsive acceleration, smooth idling—signs that your motorcycle’s heart has been rejuvenated.
Conclusion: The Art of Maintenance
Cleaning a carburetor without removing it is not just about mechanics—it is a symbiotic relationship between the rider and their machine. By preserving the carburetor’s performance, you invest in the longevity of your motorcycle. Think of this process like honing a musical instrument; it requires practice, patience, and an understanding of the nuances involved. Maintaining your motorcycle’s carburetor is a rewarding endeavor, allowing you to hit the open road with confidence, knowing you are riding at the peak of performance.
