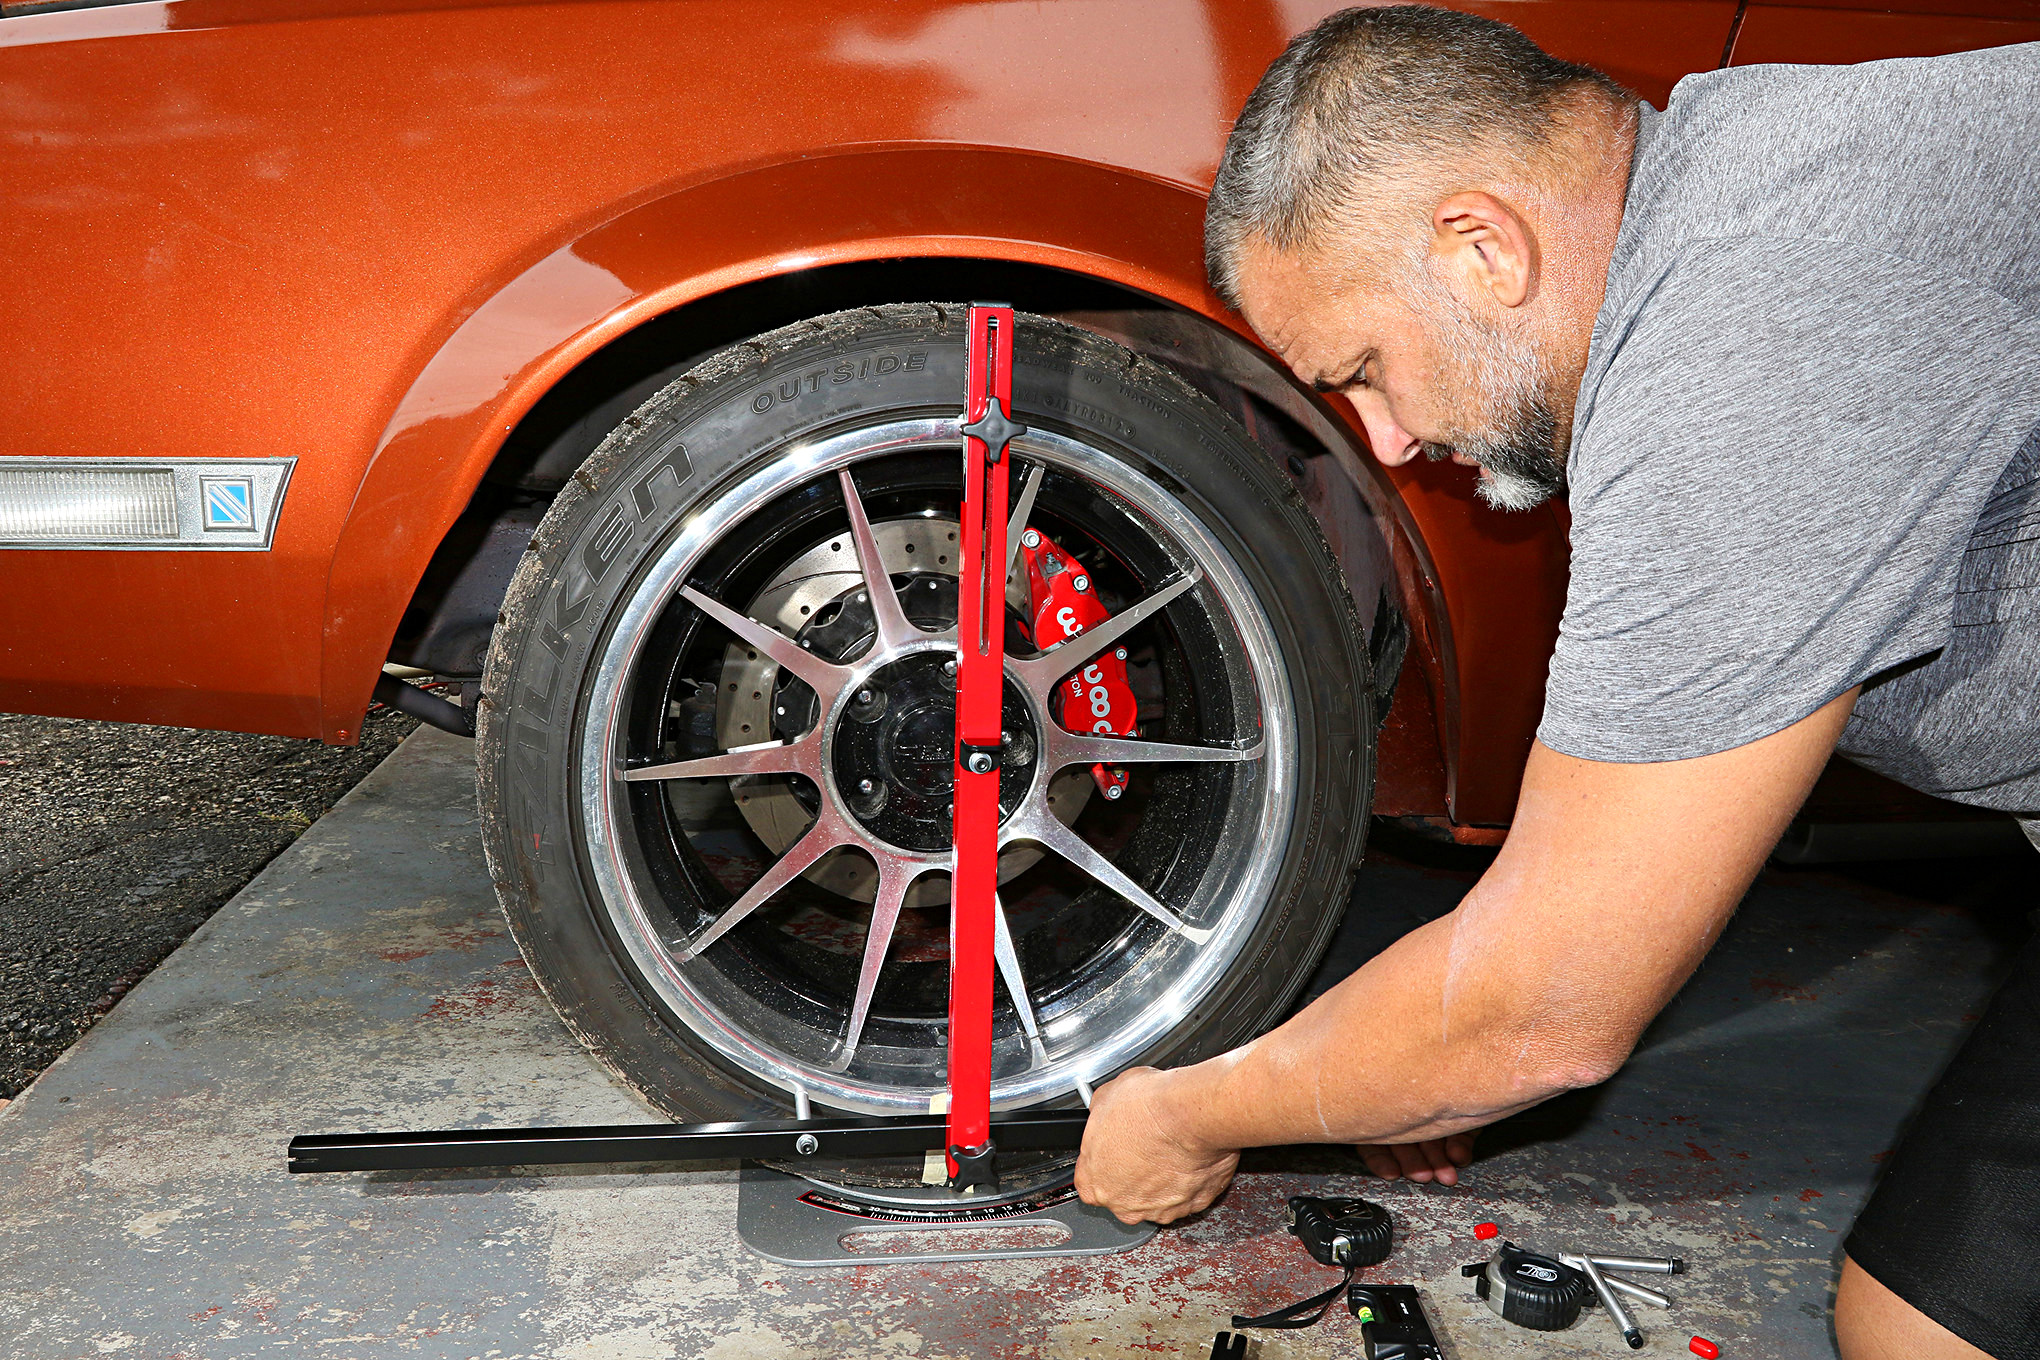
Have you ever noticed your car pulling to one side, or perhaps your steering wheel isn’t quite centered when driving straight? These nuisances may suggest that a front-end alignment is in order. While most people rush to the mechanic at the first sign of misalignment, it is surprisingly feasible to tackle this task right in your own garage. You can gain a comprehensive understanding of your vehicle’s mechanics, save money, and acquire a rewarding new skill. This guide promises to shift your perspective on auto repair, revealing that with a little time, patience, and the proper tools, you can perform a DIY front-end alignment with confidence.
Understanding the Fundamentals
To embark on this journey, it’s essential to grasp what front-end alignment entails. At its core, front-end alignment is the adjustment of a vehicle’s suspension geometry. This process ensures that your tires are perpendicular to the road and parallel to each other. When alignment is off, it leads not only to rapid tire wear but also to compromised handling and safety. Before diving into the hands-on work, familiarize yourself with terms such as camber, caster, and toe. These three parameters dictate how your vehicle interacts with the road, and understanding them provides the foundational knowledge necessary for effective alignment.
Gathering the Necessary Tools
The next step in your DIY journey involves assembling a suite of tools that will make the job easier. Here’s a breakdown of what you will need:
- Measuring Tools: String or a tape measure is essential for this process. You’ll also want to have a protractor or an angle finder at your disposal.
- Jack and Stands: Safety is paramount; ensure your vehicle is elevated securely to access the suspension components.
- Wrenches and Sockets: A comprehensive set of wrenches will help you manipulate various bolts and nuts on the suspension system.
- Level: A bubble level can assist in ensuring your alignment tools are accurate.
- Chalk or Marking Tool: Use this to mark the initial settings on your tires and wheels.
Preliminary Preparations
Before making any adjustments, start by preparing your vehicle. Check that your tires are properly inflated according to the manufacturer’s specifications. Under-inflated or over-inflated tires can throw off your alignment calculations. Next, ensure that the suspension components are in good condition; any worn out parts can compromise your alignment efforts. Additionally, select a flat, level surface for the alignment process to ensure accuracy.
Marking Initial Measurements
To begin the actual alignment process, position the vehicle on a level area. With your measuring tools ready, measure the distance between the front and back of your tires. For a proper alignment, the distance should remain consistent across the width of each tire. Mark these points for future reference. Subsequently, take a look at the camber angle by using your protractor; a negative camber (where the top of the wheels tilts inward) beyond the recommended range could signify that adjustment is necessary.
Adjusting Toe Angles
One of the critical aspects of front-end alignment is adjusting the toe angles. This refers to the direction in which the tires point relative to the centerline of the vehicle. If the front of the tires points inwards, you’re dealing with positive toe; if they point outwards, it’s negative toe. A slight adjustment can often remedy these issues. Utilize your string method: run a taut string from tire to tire, which will help indicate where your adjustments are most needed. Aim for the specifications prescribed by your vehicle’s manufacturer.
Camber Adjustments
After toe adjustments are done, it’s time to calibrate the camber. If your measurements indicated that your camber was off, adjustments can typically be made using the factory adjustment bolts that are visible on the upper strut mount. Slightly loosen these bolts, and gently maneuver the top of the wheel inwards or outwards as necessary. Be cautious, as small movements in this area can substantially affect your vehicle’s behavior while driving.
Finalizing Adjustments
Once all adjustments have been made, re-check your measurements. It’s crucial to ensure that every parameter is within the manufacturer’s recommended range for optimal performance. After verifying your work, securely tighten all bolts and re-check tire pressure one last time. Bring the vehicle down from the jack and perform a short test drive. Assess whether the steering feels centered and if the vehicle tracks straight. If everything checks out, congratulations! You’ve successfully completed a DIY front-end alignment.
The Benefits of DIY Alignment
Embarking on a DIY front-end alignment not only saves you the labor costs of a professional job but fosters a deeper connection with your vehicle. You become intimately familiar with how your car operates, gaining insights that would remain obscure behind the curtain of professional service. Moreover, this knowledge could provide invaluable when troubleshooting future auto issues. You’re not just a passenger anymore; you’re a steward of your automobile’s well-being.
In Conclusion
With patience, diligence, and the right knowledge, front-end alignment can be performed by anyone eager to learn. The sense of accomplishment when completing this task on your own is unparalleled. You’ve turned a potentially daunting project into an achievable goal. So, the next time your car misbehaves, don’t hesitate to roll up your sleeves and give it a shot; it’s a skill that will undoubtedly enhance your automotive journey.
