
Replacing a valve cover gasket is an essential maintenance task that can save you from significant engine troubles down the line. The valve cover gasket serves as a critical seal between the cylinder head and the valve cover, preventing oil leaks and ensuring optimal engine performance. If your vehicle exhibits signs of oil seeping from the engine or you notice a drop in oil levels, it may be time to delve into engine repair and replace that valve cover gasket.
Before you embark on this DIY adventure, it’s vital to understand the necessary tools, the various types of gaskets available, and the intricacies of the replacement process itself. Let’s dive into the details to prepare you for this hands-on task.
Understanding the Valve Cover Gasket
The valve cover gasket is usually made from materials like rubber, cork, or silicone, each with its durability and heat resistance properties. Rubber gaskets are prevalent for their flexibility and longevity, while cork gaskets are often found in older vehicles. Silicone gaskets, on the other hand, are becoming increasingly popular due to their exceptional sealing capability and ability to withstand higher temperatures.
Knowing the type of gasket that is suitable for your vehicle model is crucial. Always consult your vehicle’s manual or a trusted mechanic if you’re unsure about which type to choose. Remember, a quality gasket will often save you from recurrent leaks and ensure that your engine remains tightly sealed.
Tools You’ll Need
- Socket set
- Torque wrench
- Screwdriver set
- Gasket scraper or razor blade
- Engine degreaser
- Shop towels or rags
- New valve cover gasket
- RTV sealant (if required by your engine design)
- Gloves and safety goggles
Having the right tools at your disposal can make all the difference in achieving a successful replacement. Make sure your workspace is clean and organized to facilitate a smooth workflow.
Preparation Steps
Before you start the actual replacement, prepare by taking the following steps:
- Disconnect the Battery: Safety first! Ensure that both the negative and positive terminals are disconnected to prevent any electrical mishaps.
- Remove Ancillary Components: Depending on your vehicle’s design, you may need to remove various components such as the air intake, ignition coils, or other accessories that obstruct access to the valve cover.
Following these preliminary steps will not only provide better access but also a clearer understanding of the engine layout.
Removing the Old Valve Cover Gasket
With everything in preparation, it’s time to remove the old gasket. Start by unscrewing the bolts securing the valve cover, paying close attention to their order and position for reinstallation.
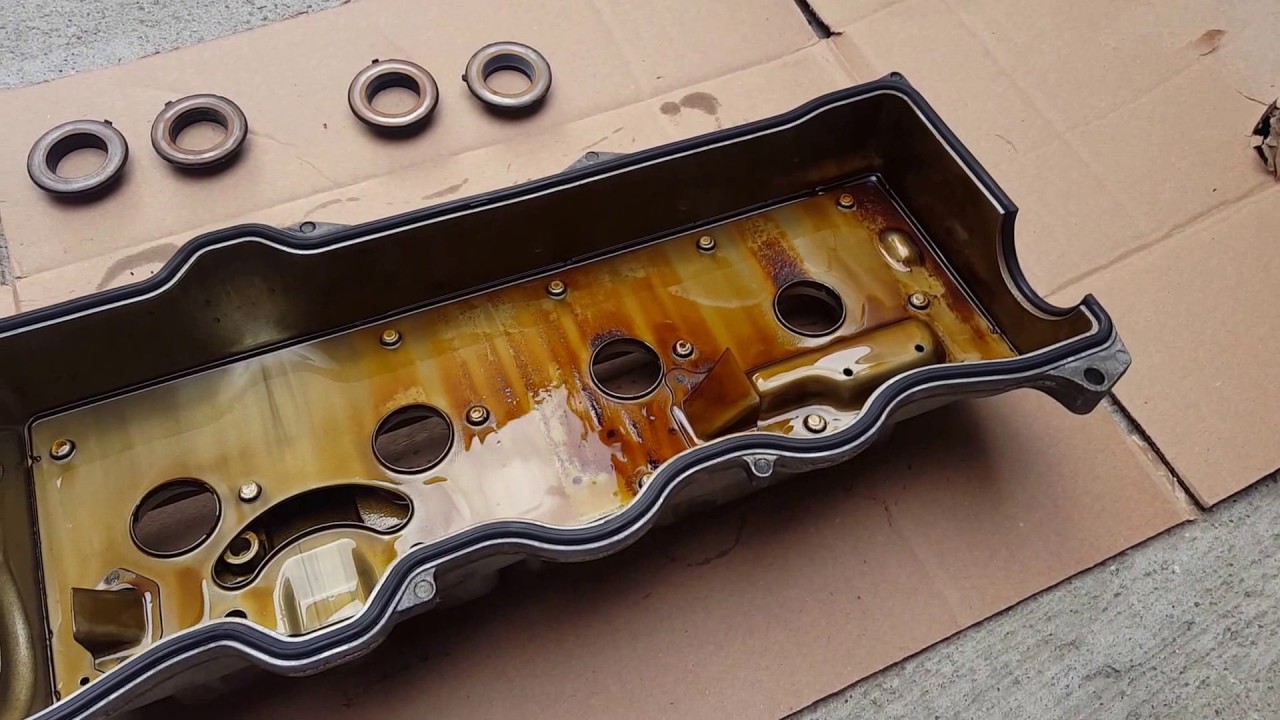
As you remove the valve cover, be cautious of any residual oil that may spill. Utilize shop towels to absorb any leaks. Next, inspect the old gasket for signs of wear, cracking, or deterioration. This inspection can give you a better understanding of how the gasket failed.
Using a gasket scraper or a razor blade, meticulously remove any remnants of the old gasket material from the valve cover and the cylinder head. A clean surface is essential for a proper seal. Take your time with this step; any remnants left behind can result in leaks.
Installing the New Valve Cover Gasket
With a clean surface in front of you, it’s time to install the new valve cover gasket. Place the gasket into its designated groove on the valve cover. Depending on the type of gasket, you may need to apply a thin layer of RTV sealant for added assurance against leaks.
Carefully position the valve cover back onto the engine, ensuring that the gasket remains properly seated. This step requires patience and precision—misalignment could cause a future leak.
Next, tighten the bolts in a crisscross pattern to ensure even pressure across the gasket. Refer to your vehicle manual for specific torque specifications, as overtightening can lead to gasket failure.
Final Steps and Testing
After securing the valve cover, reinstall any components you had to remove previously. Reconnect the battery terminals and start the engine, allowing it to idle for a few minutes. Watch for any signs of oil leaks around the newly installed gasket area.
Take a moment to check the oil level in the engine, ensuring that it is at the correct level after the replacement. If everything appears to be in order, congratulate yourself on a job well done! Regularly monitor the area for the next couple of weeks to ensure that your new gasket is functioning properly.
Conclusion
Replacing a valve cover gasket is not only a cost-effective option to prevent further engine damage but also a satisfying DIY project. With a bit of preparation, the right tools, and attention to detail, you can ensure your engine maintains its health and longevity.
Always remember that proper maintenance is key to a reliable vehicle. If you ever feel uncertain about performing such tasks, don’t hesitate to consult a professional mechanic. Happy wrenching!
