Imagine this: you’re gearing up for an adventurous escape into the great outdoors with your RV. The sun is shining, the roads are open, and the call of nature beckons you. Then, there’s a sudden halt. You realize that your RV is not getting power. What now? You might find yourself faced with the challenge of understanding the nuances of RV electrical systems, specifically the 30 amp RV plug wiring. Fear not! This guide aims to demystify the tangled web of wires and plugs, helping you to better understand the wiring diagram of your RV’s electrical system.
Before diving into the intricacies of wiring, it’s essential to grasp what a 30 amp configuration entails. Generally, RVs are outfitted with either 30 amp or 50 amp service. A 30 amp service will provide a maximum of 3,600 watts when operating at full capacity. This setup typically supports a modest array of electrical devices, such as lights, fans, and refrigerators, without overloading the system. However, if you’re planning to run multiple high-wattage appliances concurrently, it’s advisable to calculate your power consumption to avoid tripping the breaker.
Understanding the RV electrical system is akin to deciphering a complex puzzle. Every component plays a designated role in the overall functioning of your vehicle. At the heart of it all is the 30 amp plug itself, which comprises three prongs: one for hot, one for neutral, and one for ground. Each serves a specific purpose—in this case, ensuring that your RV operates safely and efficiently while on the road.
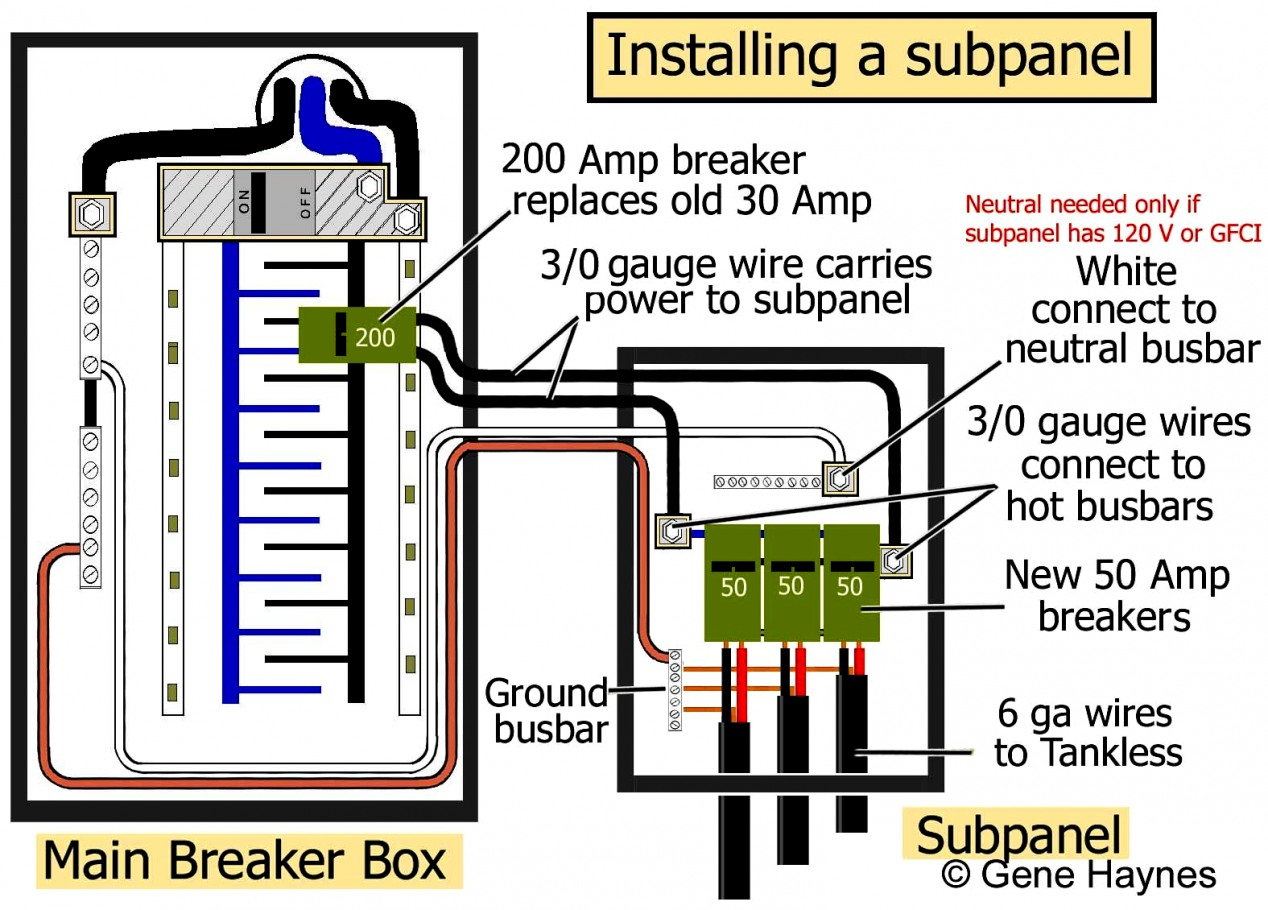
Now, let’s address the wiring diagram. An RV’s electrical system may seem daunting, yet a visual representation can clarify its components. The wiring diagram is a schematic that illustrates how the different parts connect and interact. Generally, the diagram will include symbols representing various elements such as circuit breakers, appliances, and outlets. It reveals how power flows from the source to the load, facilitating your understanding of the layout.
So, how do the various wires connect? The 30 amp plug typically features a standard three-wire configuration. The hot wire, usually colored black or red, transports electricity to the appliance. The neutral wire, commonly white, serves as the return path for the current. Finally, the ground wire, typically green or bare copper, is a crucial safety measure, designed to prevent electric shock by providing a safe path for stray currents. Understanding these color codes can greatly ease the installation and troubleshooting process.
One potential challenge you might encounter is recognizing the wiring specifics in older models, which may not strictly adhere to contemporary color codes. In such cases, consulting the manufacturer’s documentation or a professional electrician may be necessary. Safety should always be your paramount concern—never hesitate to seek expert help if you’re unsure about the wiring.
When connecting your 30 amp RV plug, there’s a straightforward process to adhere to. Start by ensuring that you have the right tools on hand, including wire strippers, a screwdriver, and a multimeter for testing electrical continuity. Begin by stripping the ends of the wires to expose enough copper for secure connections. Connect each wire according to its designated spot in the plug: hot to the brass terminal, neutral to the silver terminal, and ground to the green or bare terminal. Tighten the screws securely but avoid overtightening, which could damage the wires.
Once the connections are made, it’s time to test your work! Using a multimeter, test for continuity and ensure that no wires are crossed. A simple voltage check will confirm that the plug is providing the correct power output. This step is crucial; a faulty connection could lead to serious electrical issues down the road, including fire hazards or appliance damage.
What about when you’re hooked up at a campsite? Most RV parks and campgrounds will provide power pedestals equipped with 30 amp service. However, a common misstep is to neglect the necessity of checking polarity before plugging in. Reversing the polarity could lead to catastrophic failures of your RV’s systems. Always use a voltage tester to confirm that the outlet is functioning correctly before making any connections. A small precaution can save you from an enormous headache!
Part of maintaining your RV’s electrical system involves regular inspections. Check for signs of wear or damage, such as frayed wires or corrosion at connections. The connections should be clean and tight, ensuring that electrical flow remains uninterrupted. Consistent maintenance not only prolongs the life of your electrical system but also enhances overall safety, making your trips more enjoyable.
Let’s drill down into the impact of additional devices as well. If you’re considering adding solar panels or an inverter to your RV system, understanding the 30 amp circuit becomes even more significant. These enhancements can provide additional sources of power, allowing more flexibility in your power usage. However, proper integration into your existing electrical system requires careful planning to prevent overload.
In conclusion, understanding the 30 amp RV plug wiring diagram is not merely about connecting wires; it’s about ensuring safety, comfort, and reliability as you embark on your journeys. Armed with this knowledge, you’re not just an RV owner; you become an informed traveler, prepared to tackle the electrical challenges that come your way. The road ahead may be exhilarating, but having a well-understood electrical system will make the ride far more enjoyable. So plug in, stay charged, and embark on those memorable adventures!
