
Embarking on the open road, with a vast landscape unfurling before you, is akin to stepping into an artist’s canvas, where each painted scene is a new adventure just waiting to be discovered. If you’re a road warrior with a fifth wheel trailer in tow, mastering the art of hitching that trailer is akin to sealing your creative palette, ensuring every stroke of your journey is balanced and harmonious. The fifth wheel hitch, serving as the bridge between your vehicle and your trailer, requires finesse and precision to secure a seamless connection. In this step-by-step guide, we’ll navigate the winding path of mounting a fifth-wheel hitch, equipping you with knowledge that will empower your travels.
Understanding the Fifth Wheel System
Before you don your tool belt and dive into the practicalities, it’s essential to grasp the anatomy and functionality of the fifth wheel system. Think of the fifth wheel hitch as the heartbeat of your towing experience. It operates on a coupling mechanism that interlocks the trailer with your towing vehicle, allowing for impeccable maneuverability and stability. Unlike a conventional hitch, which can often be compared to a nominal lock and key, the fifth wheel hitch offers a robust connection that ensures your trailer follows your vehicle’s lead with unwavering loyalty.
Gathering Your Tools and Equipment
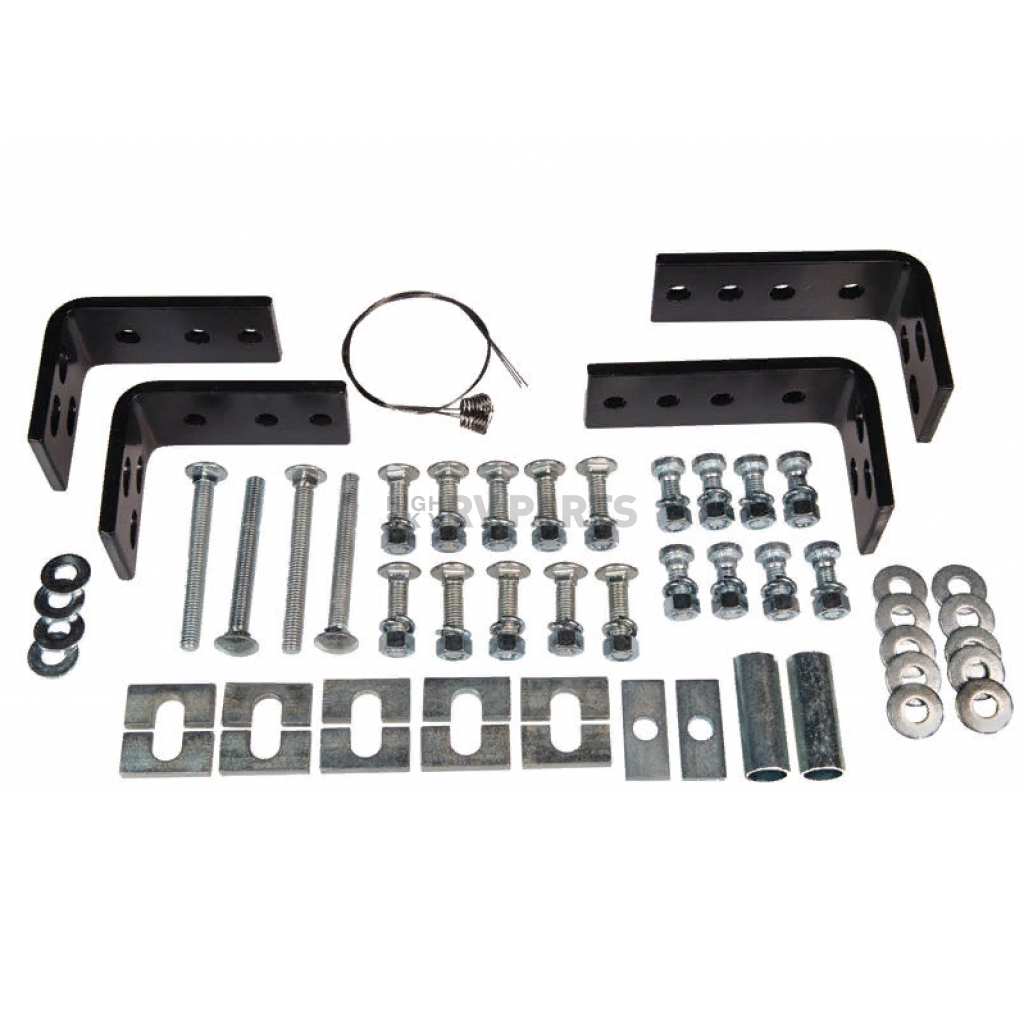
Preparation is the cornerstone of any successful endeavor. As you prepare to mount your fifth wheel hitch, assemble the following tools and equipment:
- A fifth wheel hitch compatible with your vehicle and trailer weight specifications.
- Socket wrench set and appropriate ratchets.
- A torque wrench to ensure proper fastener tightness.
- A level to maintain equilibrium during installation.
- Measuring tape for precise adjustments.
- A friend or helper, because teamwork makes the dream work!
Step 1: Preparing Your Vehicle
Once equipped, it’s time to prepare your vehicle. Start by parking your truck on a flat, level surface. Once secured, open the tailgate and remove any obstructions from the truck bed, akin to clearing your workspace before diving into an art project. If your vehicle has been fitted with a payload or bedliner, check for compatibility with the mounting brackets of your fifth wheel hitch.
Step 2: Positioning the Fifth Wheel Hitch
With the truck liberated, position the fifth wheel hitch directly over the rear axle. This positioning is critical, as it ensures weight distribution across the axles. Utilize the measuring tape to identify the exact location; ideally, the kingpin (the part of the trailer that connects to the hitch) should rest directly over the rear axle for optimal handling. Consider this step as setting the foundation for your masterpiece—a shaky base will lead to an unstable creation.
Step 3: Attaching the Mounting Brackets
Now, let’s attach the mounting brackets. Refer to your hitch manufacturer’s instructions for specific guidance, as each model may vary slightly in installation techniques. Generally, you’ll need to drill holes in the truck bed to secure the brackets, ensuring you’ve double-checked your measurements to avoid any missteps. Tighten the mounting brackets by inserting bolts and fasteners, but maintain them loosely until the hitch is securely attached. This stage is crucial. Think of it as sketching the outlines of your painting before the colors are applied.
Step 4: Securing the Fifth Wheel Hitch
Once the mounting brackets are positioned, it’s time to secure the fifth wheel hitch to these brackets. Place the hitch onto the mounting brackets and use your socket wrench to fasten it. Here, the torque wrench comes into play. Refer to the manufacturer’s specifications on the tightening torque for the bolts and apply it uniformly. This ensures your hitch is securely fastened, akin to the final strokes on your canvas that lock in the vibrant colors of your artwork.
Step 5: Conducting Safety Checks
With everything mounted, now is the time for a rigorous safety inspection. Check all bolts and connections to verify they are securely fastened. Move the hitch to ensure it locks into place properly. Test the release handle—ensure it operates smoothly without resistance. Inspect the wiring harness for lighting connections, ensuring that all signals and brake lights function impeccably. Your journey is only as safe as the preparations you’ve made. Consider this step the final inspection before unveiling your masterpiece.
Step 6: Hitching Your Trailer
The moment of truth arrives—it’s time to hitch your trailer to the truck. Align the trailer with the hitch and slowly reverse toward it. Once the kingpin makes contact with the hitch, it will audibly lock into place, giving you the reassuring click that signifies a secure connection. Engage the safety latch, ensuring that the hitch remains locked while traveling. Check for clearance and adequate visibility of the trailer while maneuvering. It’s as exhilarating as that moment when the final brush touches the canvas and the painting springs to life.
Embarking on Your Journey
As you embark on your journey, the road ahead is filled with opportunities for exploration and adventure. With your fifth wheel hitch securely mounted, you are now equipped to venture into uncharted territories. Embrace the intricacies of RV towing, revel in the unpredictability of the journey, and take comfort in the knowledge that every great journey begins with a properly mounted fifth wheel hitch. Allow the vast canvas of the open road to paint the stories of your adventures as you glide seamlessly into new horizons.
