
When it comes to upgrading your vehicle’s drivetrain components, the topic of U-joints often arises. Have you ever pondered the potential benefits of transitioning from a 1310 to a 1330 U-joint? Perhaps you’ve been pondering a project to enhance your vehicle’s performance, but you’re unsure where to begin? Well, you’re in the right place. This guide will navigate the intricacies of converting 1310 to 1330 U-joints, giving you a step-by-step walkthrough that promises not only to inform but also to engage.
Before diving headfirst into the mechanics, it’s useful to understand the anatomical differences between U-joint types. Both the 1310 and 1330 U-joints serve critical roles in the drive shaft system. The 1310 U-joint, commonly utilized in many light trucks and some performance vehicles, has a maximum angularity of about 20 degrees. Conversely, the 1330 U-joint boasts a higher capacity for torque and a slightly larger cross-section, which endows it with enhanced durability—ideal for high-performance applications. This upgrade may present a solution to an underlying challenge: ensuring your drivetrain can withstand greater power output while maintaining smooth operation.
Now that we’ve established the significance of the upgrade, let’s delve into the actual conversion process. Buckle up, because while this is a rewarding endeavor, it can also present several challenges. Let’s break it down into digestible sections for clarity.
Step 1: Gather Your Tools and Materials
Before you even think about unbolting components, assemble your toolkit. Here’s a concise list of what you’ll need:
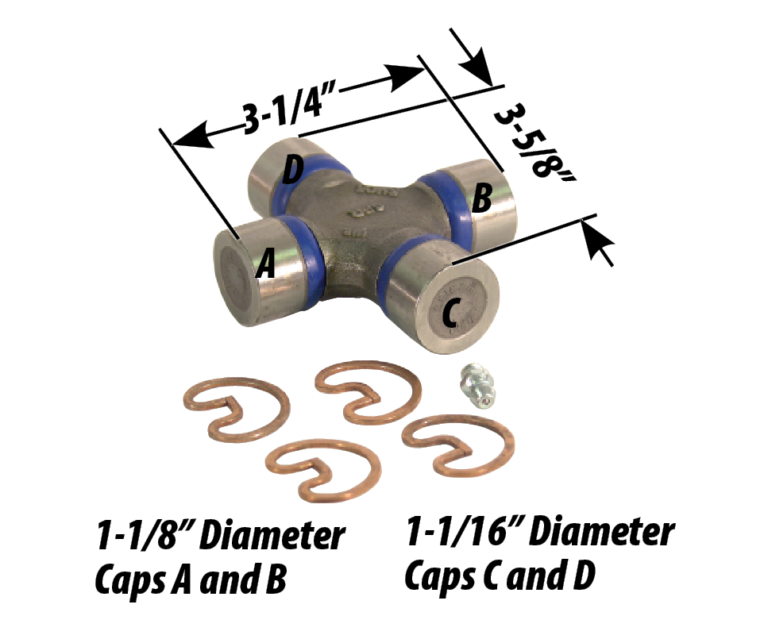
- 1310 U-joint (as a reference)
- 1330 U-joint
- Wrenches (various sizes)
- Socket set
- Grease gun
- Torque wrench
- U-joint removal tool (optional but recommended)
- Safety glasses
- Shop towels
Having everything ready will save you time and frustration as you embark on this upgrade journey.
Step 2: Safety First!
Before you make any mechanical moves, ensure your vehicle is parked on a flat surface and engage the parking brake. You may also want to use wheel chocks for added safety. Slip on your safety glasses to protect your peepers from debris and grease splashes. A sound strategy often mitigates mishaps.
Step 3: Remove the Drive Shaft
Start by locating the drive shaft. Using the appropriate socket size, unbolt the yoke from the differential side, then detach it from the transmission. It’s crucial to note the orientation of how the drive shaft connects; this will aid in reinstallation later on. Once detached, carefully pull the drive shaft away from the vehicle.
Step 4: Deconstruct the U-Joint
With the drive shaft off, it’s time to extract the original U-joint. Using your U-joint removal tool, you can push the bearing caps off, thus freeing the U-joint from the driveshaft. If you do not have access to a removal tool, tap gently with a hammer—but be cautious not to damage the components. You might find this part of the process a bit tricky; don’t get discouraged if it requires some finesse. One tip is to keep everything organized—label the components if necessary.
Step 5: Prep the New 1330 U-Joint
Before installing the 1330 U-joint, make sure to grease the splines adequately. Proper lubrication is essential to ensure your new U-joint operates smoothly and extends its lifespan. After adequately greasing, carefully align and install the new U-joint into the drive shaft. Ensure that it fits snugly and that there is no interference with surrounding components.
Step 6: Reinstall the Drive Shaft
Once the new 1330 U-joint is in place, it’s time to reattach the drive shaft. Position it back into the vehicle, ensuring alignment with the transmission and differential. Securely fasten the bolts and use a torque wrench to apply the manufacturer’s specified torque setting; this is where precision pays off. An improperly tightened connection may lead to unwanted vibrations or catastrophic failure.
Step 7: Final Checks
Congratulations, you’re nearly done! Before hitting the asphalt, conduct a thorough inspection. Ensure that everything is correctly connected and torqued to specifications. It’s also wise to check the U-joint’s movement; there should be no binding or unusual friction. A short test drive will help assess the installation; keep an ear out for any strange noises or vibrations. If everything seems in order, pat yourself on the back—your U-joint upgrade is now complete!
Upgrading from a 1310 to a 1330 U-joint can indeed pose challenges but also unlocks a treasure trove of enhanced performance and resilience in your vehicle. Whether you’re a seasoned DIY enthusiast or a novice, this guide has armed you with the essential knowledge and steps to embark on this endeavor. The improvements may be subtle at first, but once you feel the increase in stability and torque, you’ll understand they’ve made a significant difference.
So, are you ready to transform your vehicle’s experience? Embrace the upgrade, and enjoy the ride!
