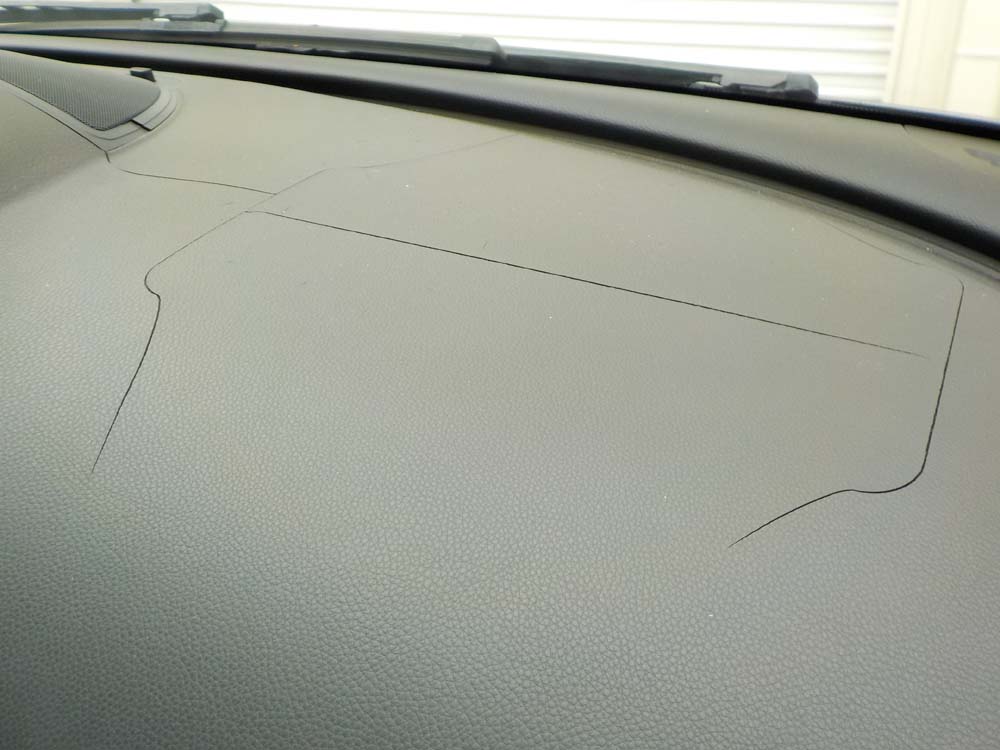
When it comes to maintaining the aesthetics of your vehicle’s interior, a cracked dashboard can be visually jarring and detract from your driving experience. It’s easy to overlook how much dashboard integrity contributes to the overall ambiance and comfort of your ride. But what causes these cracks? And more importantly, how can they be repaired? Dive into the art of dashboard repair, and let’s explore solutions that promise not just to restore semblance but to rejuvenate your vehicle’s spirit.
Understanding the anatomy of a dashboard is key. Most dashboards are constructed from materials designed for durability, but even the most resilient of materials can succumb to the wear of time, sun exposure, and temperature fluctuations. Have you ever noticed how the sunlight can feel like a relentless adversary? Over time, UV rays can erode the dashboard’s surface, leading to that unsightly cracking. Curiously, these cracks do not merely signal decay; they can create an avenue for future deterioration, allowing dust and debris to infiltrate the dashboard’s hidden depths.
As you contemplate the visual implications of your dashboard’s condition, consider the practical side as well. Cracked surfaces can compromise the functionality of your vehicle’s dashboard. Gaps may lead to further damages, including a reduction in structural integrity, and can disrupt vital components such as airbags, which are typically housed within this area. Therefore, undertaking repairs is not just an aesthetic choice; it can be a matter of safety.
So, how does one embark on the journey of refurbishing a cracked dashboard? Firstly, it’s crucial to assess the severity of the cracks. Minor surface fractures may be easy to repair, while significant fissures may warrant a more comprehensive approach. Before you dive in, gather your tools: a dash repair kit, sandpaper, filler, and adhesive are essential components in this endeavor.
Initially, the surface of the dashboard needs to be prepared. A meticulous cleaning with a soft cloth removes dust, grease, and grime that may impede adhesion. Once clean, inspect the cracks closely. For minor cracks, use sandpaper to gently abrade the edges; this will promote better adhesion when you apply the filler. For deeper gaps, it may be beneficial to apply a plastic welder to create a seamless bond.
Now, let’s delve into the magic of fillers. Select a high-quality automotive plastic filler that is easy to manipulate. Use a spatula or a similar utensil to push the filler into the crack, ensuring that it fills the entire void. Once you’ve covered the area generously, smooth it out to create a level surface. Perhaps you’re wondering: how long should you wait? Patience is a virtue; allow the filler to cure as per the manufacturer’s recommendations, generally about 24 hours.
Once the filler has dried, the next step is to sand it down to create a flawless finish. This may require using finer grit sandpaper for a smoother surface, ensuring that the repair blends seamlessly with the undamaged parts of the dashboard. Now’s the time to examine your handiwork: does it look even? Take your time; polishing is essential, and any imperfections might stand out glaringly against the rest of the dashboard.
As always, aesthetics play a crucial role in a successful repair. Once the sanding process is complete, consider applying a matching dashboard paint to restore the original color. This part can be quite rewarding as you see the transformation unfold before your eyes. Many repair kits come with a selection of colors to match various automobile interiors. Apply it with a fine brush to maintain control and precision.
After the paint dries, seal the repair with a UV protectant. This crucial step not only enhances the longevity of your repairs but also offers protection against future sun damage—those relentless rays you’d come to know too well! Embrace the new layer of protection as a shield against the elements.
Now that your dashboard looks as good as new, perhaps it’s time to think beyond mere aesthetics. Consider implementing preventative measures to extend the life of your dashboard. Regular cleaning with gentle solutions, utilizing sunshades during bright days, or even applying dash protectants can help mitigate the risks of cracking down the line.
So, what’s the takeaway from this little journey through dashboard restoration? Fixing cracks isn’t just about combating decline; it’s about enhancing your vehicle’s lifespan, appearance, and safety. By taking decisive action, you can alter your perspective on vehicle maintenance from a chore to a gratifying accomplishment. In the end, every repaired crack tells a story—each a testament to your devotion as a car owner, celebrating the beauty of restoration and rejuvenation.
In the realm of dashboard repair, patience, precision, and a sprinkle of creativity can transform an eyesore into a point of pride. So next time you look at that cracked dashboard, remember: every crack is an opportunity, waiting for the right hands to bring it back to life.
